
This document is the companion piece to Building and Using a Medieval-Style Hemispherical Bake Oven, which was written for the benefit of people, especially historical re-enactors, who are interested in making and baking in a medieval style bake oven. This practical knowledge was gained during the authors's participation in the Society for Creative Anachronism. All these photos were taken in 1995 except for the first one, which was taken in 1998.
This document is provided as is without any express or implied warranties. While every effort has been taken to ensure the accuracy of the information contained, the authors assume no responsibility for errors or omissions, or for damages resulting from the use of the information contained herein.
This document and its associated photographs are protected by copyright. Permission to reproduce may be granted upon application to the copyright holders. All other rights are reserved.
© 1995, 1998, 1999 Carolyn Priest-Dorman and Greg Priest-Dorman
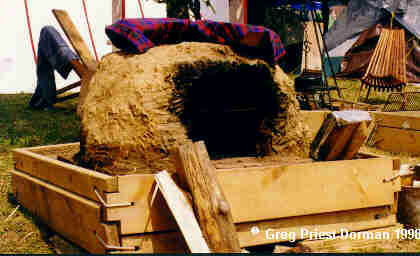
Here is the version of our oven that we built in August 1998 at the Pennsic War. It was a particularly good performer, and after ten days of using it we felt sad that it had to be demolished.
The rest of these photos are from the attempt we made in 1995 to document the building of our oven. These photos are all reproduced from half-frame negatives, and so the quality isn't as good as one could hope. Nevertheless, they give a fairly complete record of the process.
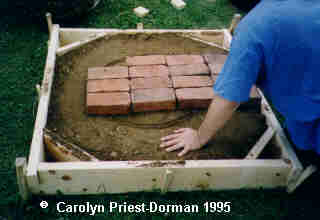
Here is the completed platform; we are just beginning to lay the facing. The circle incised in the dirt represents the inside diameter of the planned oven.
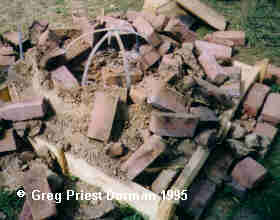
This is a photo of the demolition process. It's here to show the armature of iron straps.
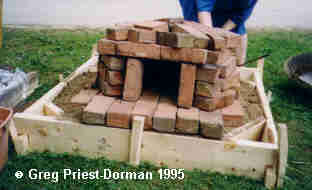
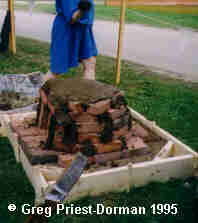
Here is the basic shape of the oven, with the stacked bricks.
The daubing stage, in process.
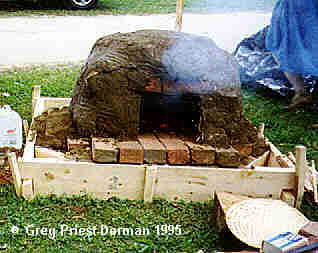
Fully daubed, now the oven is fired. Note the wet, shiny appearance of the daub. You can see fingermarks in the daub above and to the left of the doorway. When using this particular doorway design, the area around the lintels of the door is sometimes difficult to daub successfully.
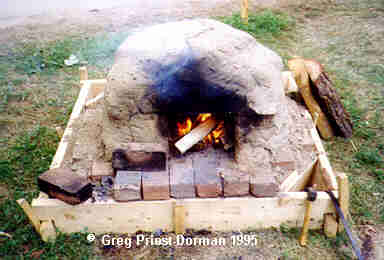
This oven has been in use for some days. Note the long crack across the daub at the top. Such cracks are only a problem if they succeed in leaking smoke during the firing process. Since this one didn't, we didn't bother to patch it.
This page was created on 21 April 1999 and last updated on 21 April 1999.
Search this site | Back to "Making a Brick Oven" No soliciting! capriest@cs.vassar.edu